Configure app within M365 - Application based permissions - Certificate Based (recommended)
The preferred method to authenticate with the graph api is via application based permissions.
Using Office 365 SharePoint as a docuflow repository you will need to ensure that the Enterprise Connector is configured and able to connect to the Microsoft graph API. You must create an enterprise application via the Microsoft Azure portal to complete this procedure. This will require an account with appropriate level of permissions to grant correct access rights to a user (connector user) using the graph API when inside the azure portal.
You can either self-grant access or have an admin grant access to the graph API and its corresponding access rules inside the azure portal if and only if that user has authority to grant access to those rules.
The following steps below outline this process:
i. Visit https://portal.azure.com/ then login using an appropriate account.
ii. Click on Active Driectory, then click on App Registrations and click on new registration.
Name the application docuflow_suffix (Either DEV, TEST,PROD) depending on environment provisioning.
Select single tenant.
Click register.
Click Api Permissions under Manage.
Click Add Permissions.
Select Microsoft Graph, and then select application permissions.
Type "Sites" in the search and select Sites.Manage All for permissions.
If you want to do permissions granuarly at the site level follow, you may choose Site.Selected. Please reference this guide from microsoft for site level permissions. https://learn.microsoft.com/en-us/graph/api/site-post-permissions?view=graph-rest-beta&tabs=http
(We have also included a summary of the site level permissions here)
Click Grant admin consent for docuflowdemo
Click certificates and secrets.
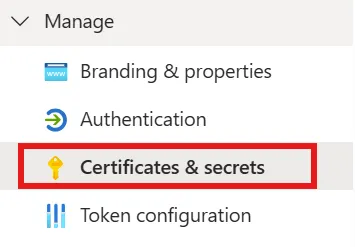
Click on 'Upload certificate' under 'Certificates' tab.

select a public key/certificate by selecting it via file choose.
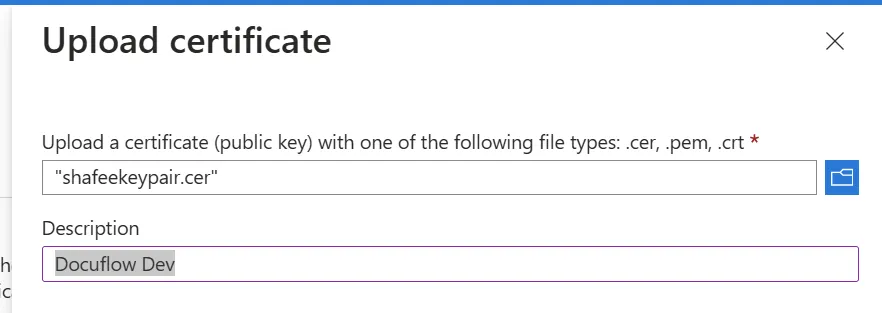
Provide appropriate description of the certificate in 'Description' field.
Click on 'Add'
If everything is well, certificate basic details will be populated in the table along with Thumbprint, Description, start date, Expiry Date and certificate ID.

Click on overview and save the following information. App ID, and tenant ID.